INSTALLATION GUIDE
All of our Rakit Systems include a full hardware installation kit consisting of plugs, screws and washers, as well as a drill bit and hex key, for installation into brickwork or concrete.
Basic DIY tools needed for installation are; rotary drill, spirit level and 13mm socket set. If you do not have access to a 13mm socket you can purchase our custom designed installation tool on our accessories page. Rotary drills and spirit levels can be hired from any local tool hire company or borrowed from a friend.
For installation onto timber, please contact us at time of order and we can upgrade your installation kit accordingly.
Not recommended for drywall installation.
Installation Tips and Tricks.
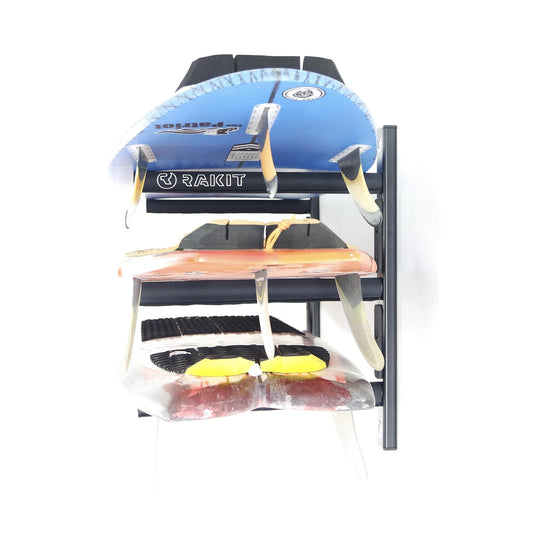
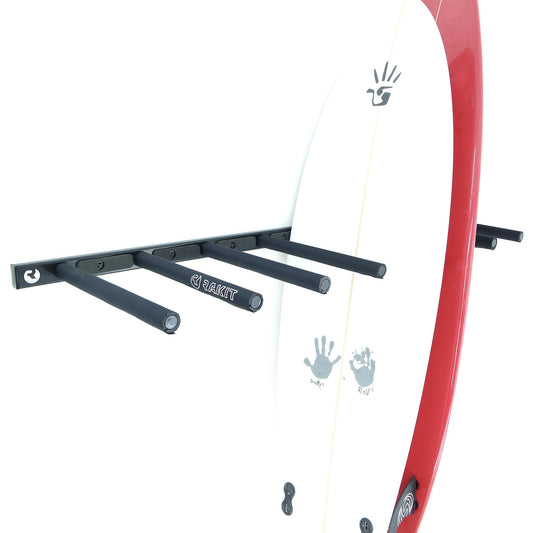
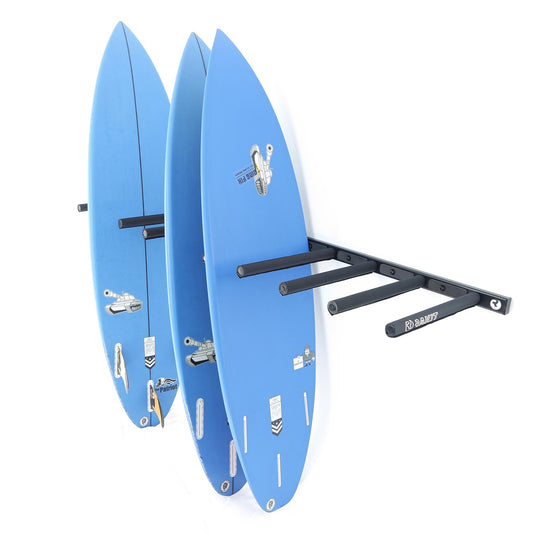
1. For horizontal board storage, lay the assembled racks out on the floor and confirm spacing relative to smallest board, before installation. Everyone has a different quiver.
Recommended distance between racks approximately
Kite - 650mm to 1150mm
Surf - 750mm to 1150mm
Windsurf - 850mm to 1550mm
SUP - 950mm to 1750mm, ensuring your smallest non adjustable paddle fits the paddle holders (if your model has them).
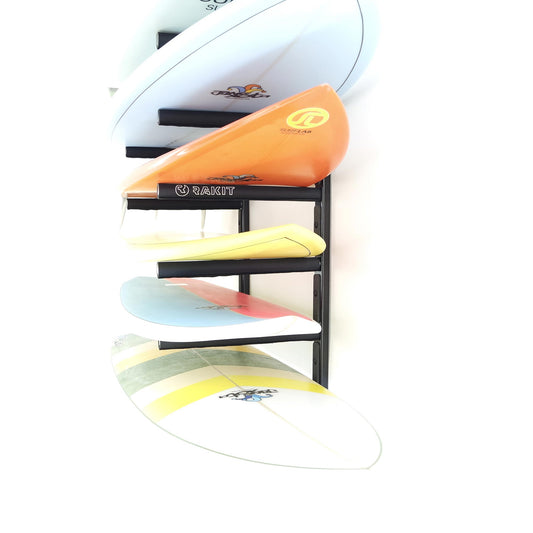
2. For vertical board storage mark a horizontal line on the wall approximately 300mm lower than you shortest board.
3. Double check wall to ensure there are no hidden services, water, electrical or other. If unsure DO NOT DRILL! Seek professional advice before starting.
4. When drilling, mark the drill bit to the depth of 65mm with masking tape to insure correct depth of holes for all plugs.
5. Take time to mark holes correctly and install one side at a time, ensuring rack is level and plumb.
6. If you have purchased one of our models with a Tie Bar or Soft Shelf option, we recommend you assemble the unit on the ground, starting with supports and tie bars and remember to install S-Hooks on tie bar before final tightening. Offer up the rack to the wall at correct height and level (use tallest wetsuit on hanger as guide) and mark for the holes. An assistant helps.
7. Once rack is fixed to the wall you can slide the hooks into rough position and install the soft shelf. Tighten the short ends first.
8. Work safe and enjoy.
Stylish And Versatile – Board Racks For All Quivers